
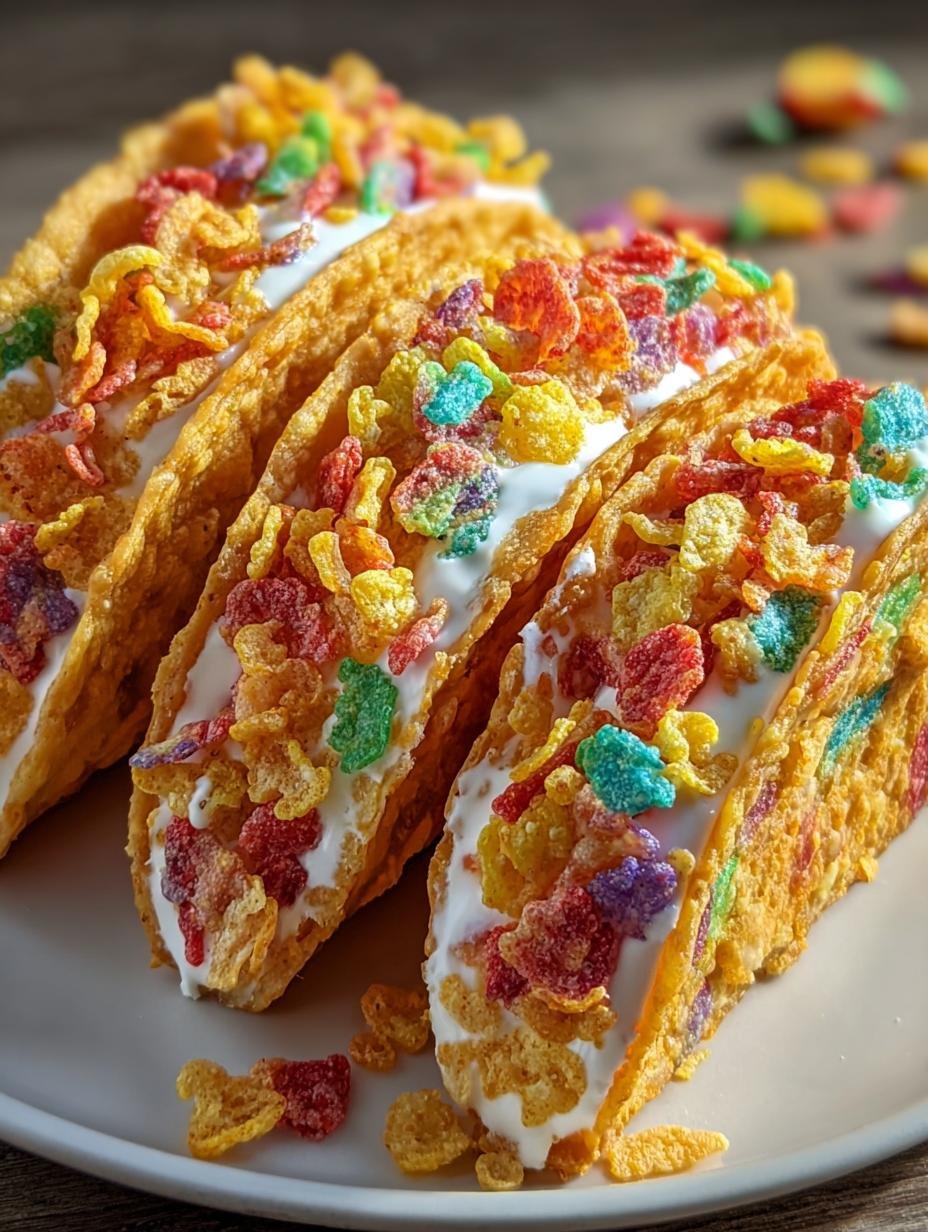
Fruity Pebbles Cheesecake Tacos has become my go-to dessert for bringing smiles to faces. I still remember the first time I whipped up this whimsical treat for my niece’s birthday; her eyes lit up at the vibrant colors and the unexpected crunch! The aroma of sweet cereal and creamy cheesecake filled my kitchen, promising a dessert that was as fun to eat as it was pretty to look at. This easy Fruity Pebbles cheesecake taco recipe is a total game-changer, combining all the best parts of a classic cheesecake with the playful crunch of a taco. It’s truly the best dessert tacos with colorful cereal you’ll ever try. Let’s get cooking!
Why You’ll Love This Fruity Pebbles Cheesecake Tacos
I promise, these dessert tacos are about to become your new favorite treat. Here’s why you’ll adore making and eating these:
- Incredible Flavor: The creamy, tangy cheesecake filling perfectly balances the sweet, fruity crunch of the cereal. It’s a flavor explosion!
- Quick & Easy: You can whip up these Fruity Pebbles Cheesecake Tacos in under 30 minutes, making them ideal for a last-minute craving or unexpected guests.
- Fun & Unique: They’re a playful twist on traditional cheesecake and tacos, guaranteed to impress with their vibrant colors and innovative presentation.
- Family-Friendly: Kids and adults alike will be enchanted by these colorful, delicious treats. They’re an easy Fruity Pebbles dessert tacos everyone can enjoy.
- Budget-Friendly: Made with readily available ingredients, these tacos are an economical way to create a show-stopping dessert.
- Versatile: It’s an easy Fruity Pebbles dessert tacos recipe that you can customize with different cereals or toppings.
Ingredients for Fruity Pebbles Cheesecake Tacos
Gathering your ingredients is the first step to creating these delightful Fruity Pebbles Cheesecake Tacos. I’ve chosen these specific components to ensure the perfect balance of crunch, creaminess, and that unmistakable fruity flavor:
- 6 flour tortillas – I like using smaller, soft taco-sized tortillas for individual servings.
- 2 tablespoons unsalted butter, melted – This helps create that crisp, golden shell and adheres the cereal.
- 1/4 cup crushed Fruity Pebbles cereal (about 25g) – For coating the shells; crushing them helps them stick better.
- 8 ounces cream cheese, softened (226g) – Make sure it’s at room temperature for a super smooth filling. This is the heart of our creamy Fruity Pebbles cream cheese dessert.
- 1/2 cup granulated sugar (100g) – To sweeten the cheesecake filling just right.
- 1/4 cup sour cream (56g) – This adds a lovely tang and extra creaminess to the filling.
- 1 teaspoon vanilla extract (5ml) – A classic flavor enhancer that complements the other sweet notes.
- 1 cup whipped topping (about 85g) – Fold this in gently for a light and airy cheesecake texture.
- 1/2 cup Fruity Pebbles cereal (about 50g) – The colorful star of the show, stirred into the filling for bursts of flavor and texture.
How to Make Fruity Pebbles Cheesecake Tacos
Now for the fun part! Follow these simple steps, and you’ll be enjoying your delightful Fruity Pebbles Cheesecake Tacos in no time. I promise, it’s easier than you think to create these vibrant dessert treats.
- Step 1: First, preheat your oven to 350°F (175°C). This ensures your tortillas will bake evenly and get perfectly crispy. I always line my baking sheet with parchment paper for easy cleanup.
- Step 2: Next, take your flour tortillas and brush both sides with the melted unsalted butter. Then, sprinkle one side of each buttered tortilla with the crushed Fruity Pebbles cereal. This creates that wonderfully crunchy, colorful shell.
- Step 3: Gently fold each tortilla in half, forming that classic taco shell shape. If they’re not holding their shape well, you can secure them with toothpicks. Place these shaped shells onto your prepared baking sheet.
- Step 4: Bake the taco shells for 8-10 minutes, or until they’re lightly golden and have a satisfying crispness. Keep a close eye on them to prevent burning. Once ready, remove them from the oven and let them cool completely on a wire rack. This step is crucial for achieving that perfect crunch for your Fruity Pebbles Cheesecake Tacos.
- Step 5: While the shells cool, let’s prepare the irresistible filling. In a large mixing bowl, beat the softened cream cheese and granulated sugar together until the mixture is smooth and creamy. I love how the sugar dissolves, making it perfectly sweet.
- Step 6: Add the sour cream and vanilla extract to the cream cheese mixture and continue mixing until everything is well combined. The sour cream adds a subtle tang that really brightens the flavor.
- Step 7: Now, gently fold in the whipped topping and the 1/2 cup of whole Fruity Pebbles cereal. Be careful not to overmix, as you want to keep the whipped topping light and airy, and the cereal pieces intact for texture. This is how to make Fruity Pebbles Cheesecake Tacos truly special with that iconic cereal crunch.
- Step 8: Once your taco shells are completely cool, it’s time to assemble! Spoon generous amounts of the cheesecake filling into each crispy taco shell. You can use a spoon or even a piping bag for a neater look.
- Step 9: For an extra pop of color and flavor, garnish your completed Fruity Pebbles Cheesecake Tacos with a few additional Fruity Pebbles. Serve them immediately to enjoy the freshest crunch, or chill them for a bit if you prefer a colder dessert.
Pro Tips for the Best Fruity Pebbles Cheesecake Tacos
I’ve made these Fruity Pebbles Cheesecake Tacos countless times, and I’ve picked up a few tricks along the way to ensure they turn out perfectly every single time. Following these expert tips will elevate your dessert from good to absolutely amazing.
- Always ensure your cream cheese is completely softened to room temperature. This is crucial for a smooth, lump-free cheesecake filling.
- When folding in the whipped topping and Fruity Pebbles, be gentle. Overmixing can deflate the whipped topping, making your filling less airy, and can crush the cereal too much.
- Watch your taco shells closely in the oven. They can go from perfectly crisp to burnt very quickly. Every oven is different, so adjust baking time as needed.
- Let the baked taco shells cool entirely before filling them. If they’re warm, the cheesecake filling will melt and make them soggy.
What’s the secret to perfect Fruity Pebbles cheesecake tacos?
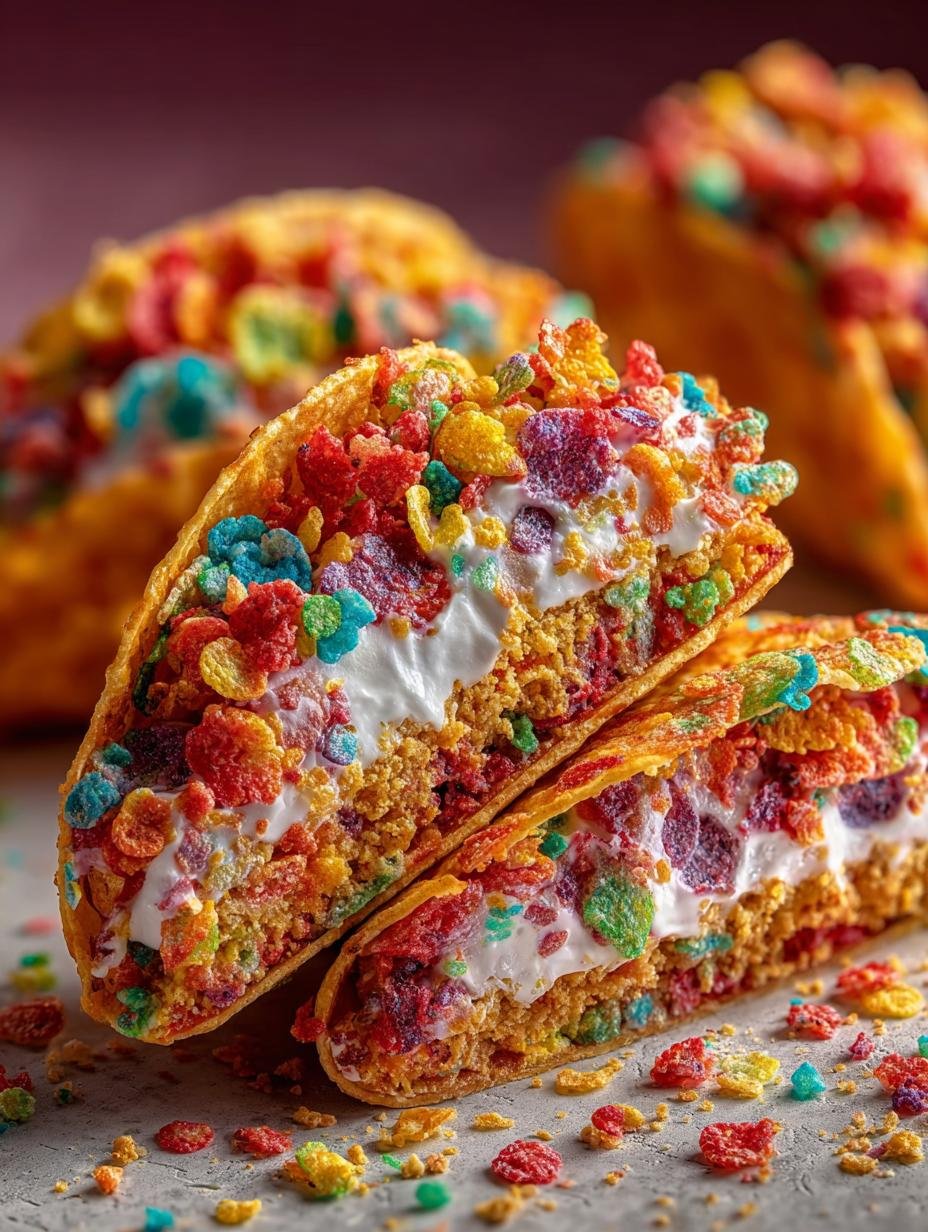
The real secret lies in the contrast: a super creamy, slightly tangy cheesecake filling paired with a perfectly crisp, cereal-crusted shell. The buttered tortilla baked with crushed Fruity Pebbles creates an irresistible cheesecake tacos with cereal crust that holds up beautifully to the rich filling. It’s all about texture!
Can I make Fruity Pebbles cheesecake tacos ahead of time?
Absolutely! You can prepare the cheesecake filling up to 24 hours in advance and store it covered in the refrigerator. The taco shells can also be baked a day ahead and kept in an airtight container at room temperature. Assemble your Fruity Pebbles Cheesecake Tacos just before serving for the best texture.
How do I avoid common mistakes with Fruity Pebbles cheesecake tacos?
Don’t overmix the cheesecake filling once the whipped topping is added, or it will lose its light texture. Also, be sure your shells are fully cooled before filling to prevent sogginess. Finally, make sure to use fresh, not stale, Fruity Pebbles for the best flavor and crunch in your Fruity Pebbles Cheesecake Tacos.
Best Ways to Serve Fruity Pebbles Cheesecake Tacos
These delightful Fruity Pebbles Cheesecake Tacos are fantastic on their own, but with a few extra touches, you can turn them into an even more memorable treat. I love thinking about how to best present them to truly capture their fun and vibrant spirit.
For a simple presentation, arrange the Fruity Pebbles Cheesecake Tacos on a colorful platter. A light dusting of powdered sugar or a drizzle of white chocolate can add an elegant touch. They’re perfect as a standalone dessert after a casual family dinner or a backyard barbecue.
To make it a full dessert experience, consider pairing them with a scoop of vanilla bean ice cream or a dollop of extra whipped cream on the side. These Fruity Pebbles Cheesecake Tacos also make an excellent kids’ dessert Fruity Pebbles party favor, individually wrapped for little hands. A tall glass of cold milk or a colorful fruit punch would be a perfect complement to these sweet tacos.
Nutrition Facts for Fruity Pebbles Cheesecake Tacos
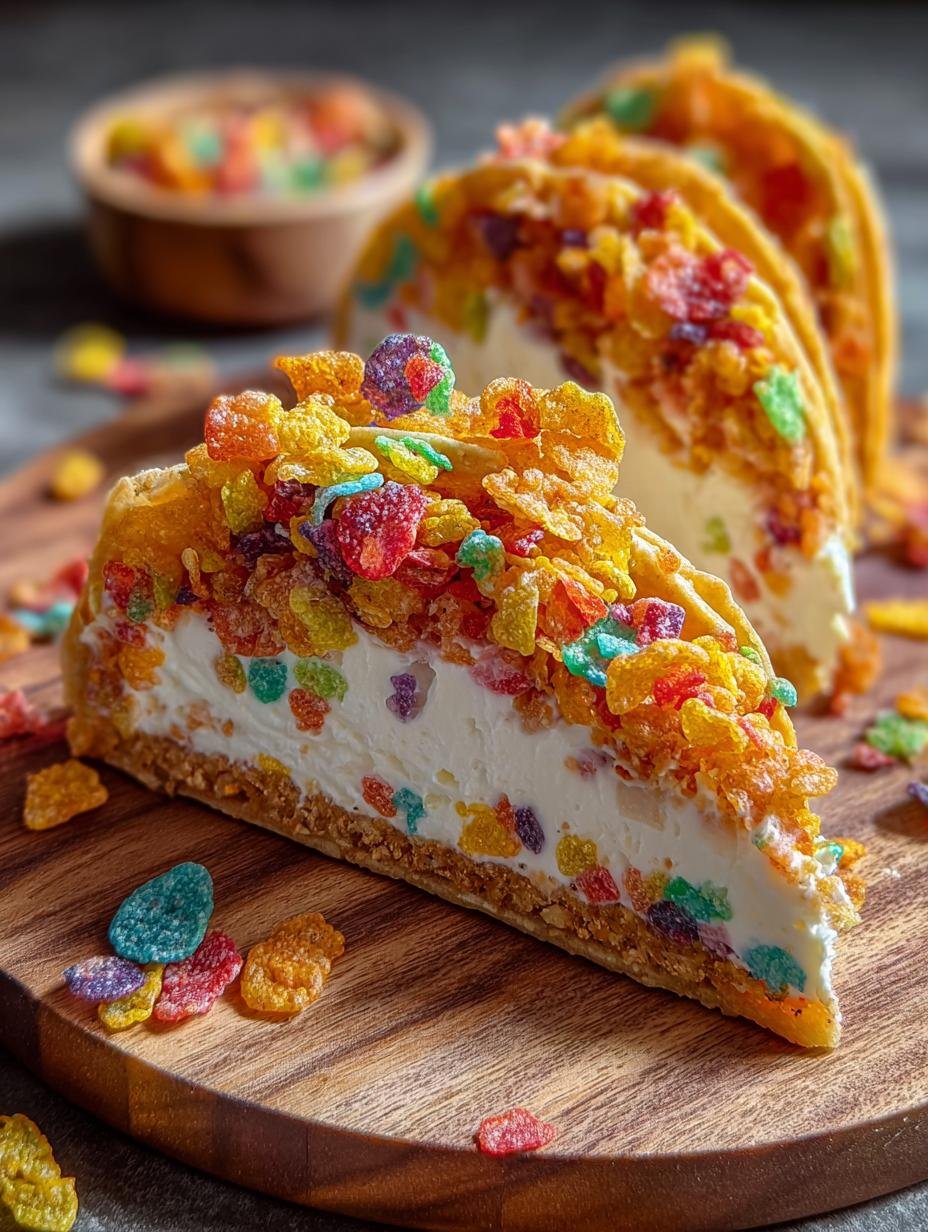
I always find it helpful to know the nutritional breakdown, especially when enjoying a fun treat like these Fruity Pebbles Cheesecake Tacos. Here’s an estimate per serving, based on one taco:
- Serving Size: 1 taco
- Calories: 350 kcal
- Protein: 5g
- Fat: 20g
- Saturated Fat: 12g
- Carbohydrates: 40g
- Fiber: 1g
- Sugar: 25g
- Sodium: 150mg
Nutritional values for these Fruity Pebbles Cheesecake Tacos are estimates and may vary based on specific ingredients used and portion sizes.
How to Store and Reheat Fruity Pebbles Cheesecake Tacos
Once you’ve gone through the delightful process of making and enjoying your Fruity Pebbles Cheesecake Tacos, you might find yourself with a few leftovers. I’m here to tell you how to keep them fresh and delicious for as long as possible!
First, ensure any leftover tacos are completely cooled before storing. Place them in an airtight container, preferably in a single layer to prevent crushing. They will stay fresh in the refrigerator for 3-4 days. For longer storage, you can freeze the assembled Fruity Pebbles Cheesecake Tacos for up to 3 months. Wrap each taco individually in plastic wrap, then place them in a freezer-safe bag.
When you’re ready to enjoy them again, simply thaw frozen tacos in the refrigerator overnight. I often find they are best enjoyed chilled straight from the fridge, maintaining that creamy filling and crisp shell. There’s no need to reheat these; they are a perfect cold dessert. Knowing how to assemble Fruity Pebbles Cheesecake Tacos correctly also helps in their storage, as a well-made taco holds its form better.
Frequently Asked Questions About Fruity Pebbles Cheesecake Tacos
What exactly are Fruity Pebbles cheesecake tacos?
Fruity Pebbles cheesecake tacos are a whimsical dessert that combines the creamy, tangy flavor of cheesecake with the fun, crunchy texture of a taco shell and the vibrant taste of Fruity Pebbles cereal. The “shell” is usually a baked tortilla coated in crushed Fruity Pebbles, filled with a sweet, no-bake cheesecake mixture that also contains the colorful cereal. They’re a playful and delicious twist on traditional desserts, perfect for anyone who loves unique treats.
Can I use a different cereal for these dessert tacos?
Absolutely! While Fruity Pebbles cheesecake tacos are incredibly popular for their unique flavor and color, you can definitely experiment with other cereals. Cereals like Cinnamon Toast Crunch, Lucky Charms, or even Cocoa Pebbles would create equally delicious and distinct dessert tacos. Just swap out the Fruity Pebbles for your cereal of choice in both the shell coating and the cheesecake filling.
Are Fruity Pebbles cheesecake tacos difficult to make for beginners?
Not at all! This recipe for Fruity Pebbles cheesecake tacos is surprisingly beginner-friendly. The most challenging part might be shaping the tortillas into taco shells, but even that is quite simple with a little patience. The cheesecake filling is no-bake, which cuts down on complexity. If you’re wondering what are Fruity Pebbles cheesecake tacos and if you can make them, the answer is a resounding yes!
How long do Fruity Pebbles cheesecake tacos last in the refrigerator?
Once assembled, your delicious Fruity Pebbles cheesecake tacos should be stored in an airtight container in the refrigerator. They will typically last for 3-4 days. For the best texture, I recommend enjoying them within the first 2 days, as the shells might start to soften slightly over time. This ensures you get the optimal creamy filling and crunchy shell experience from your Fruity Pebbles cheesecake tacos.
Variations of Fruity Pebbles Cheesecake Tacos You Can Try
While the classic Fruity Pebbles Cheesecake Tacos are undeniably delicious, there’s always room for creativity in the kitchen! I love experimenting with different flavors and textures, and these dessert tacos are incredibly versatile. Here are a few Fruity Pebbles dessert ideas to inspire your next batch:
- Chocolate Lovers’ Twist: Swap out the Fruity Pebbles for Cocoa Pebbles in both the shell and the filling. You could even add a chocolate drizzle over the top for an extra decadent treat.
- Berry Burst: Fold in fresh mixed berries (like raspberries or blueberries) into the cheesecake filling alongside the Fruity Pebbles. This adds a lovely tartness that complements the sweetness beautifully.
- No-Bake Shells: If you’re looking for a truly no-bake option, skip baking the tortillas. Instead, use store-bought waffle cones or pizzelle cookies gently folded into taco shapes while warm. These make for unique and quick Fruity Pebbles Cheesecake Tacos.
- Tropical Delight: Add a touch of crushed pineapple or shredded coconut to the cheesecake filling for a tropical twist. This variation of Fruity Pebbles Cheesecake Tacos is perfect for summer gatherings.

Fruity Pebbles Cheesecake Tacos: 1 Divine Bite
- Total Time: 30 minutes
- Yield: 6 tacos 1x
- Diet: Vegetarian
Description
These Fruity Pebbles Cheesecake Tacos combine crunchy taco shells with a creamy cheesecake filling, enhanced by the iconic flavor of Fruity Pebbles. This whimsical dessert is quick to make, taking less than 30 minutes, and is perfect for parties or a fun snack.
Ingredients
- 6 flour tortillas
- 2 tablespoons unsalted butter, melted
- 1/4 cup crushed Fruity Pebbles cereal (about 25g)
- 8 ounces cream cheese, softened (226g)
- 1/2 cup granulated sugar (100g)
- 1/4 cup sour cream (56g)
- 1 teaspoon vanilla extract (5ml)
- 1 cup whipped topping (about 85g)
- 1/2 cup Fruity Pebbles cereal (about 50g)
Instructions
- Preheat your oven to 350°F (175°C).
- Brush both sides of each tortilla with melted butter.
- Sprinkle one side of each tortilla with crushed Fruity Pebbles.
- Gently fold each tortilla in half to form a taco shell shape. Secure with toothpicks if needed.
- Place the taco shells on a baking sheet and bake for 8-10 minutes, or until lightly golden and crispy.
- Remove from oven and let cool completely.
- In a large bowl, beat the softened cream cheese and sugar until smooth and creamy.
- Add the sour cream and vanilla extract and mix until well combined.
- Gently fold in the whipped topping and Fruity Pebbles cereal.
- Spoon the cheesecake filling into the cooled taco shells.
- Garnish with additional Fruity Pebbles, if desired.
- Serve immediately or chill for later.
Notes
- Prepare taco shells and filling separately. Assemble before serving.
- Try different cereals, fruit fillings, or a chocolate drizzle for variations.
- Ensure your cream cheese is fully softened for a smooth, lump-free filling.
- Gently fold in the whipped topping to maintain its light and airy texture.
- Keep a close eye on the taco shells while baking to prevent burning.
- Let the taco shells cool completely before filling to prevent sogginess.
- Prep Time: 20 minutes
- Cook Time: 10 minutes
- Category: Dessert
- Method: Baking
- Cuisine: American
Nutrition
- Serving Size: 1 taco
- Calories: 350 kcal
- Sugar: 25 g
- Sodium: 150 mg
- Fat: 20 g
- Saturated Fat: 12 g
- Unsaturated Fat: 0 g
- Trans Fat: 0 g
- Carbohydrates: 40 g
- Fiber: 1 g
- Protein: 5 g
- Cholesterol: 60 mg





Leave a Reply