
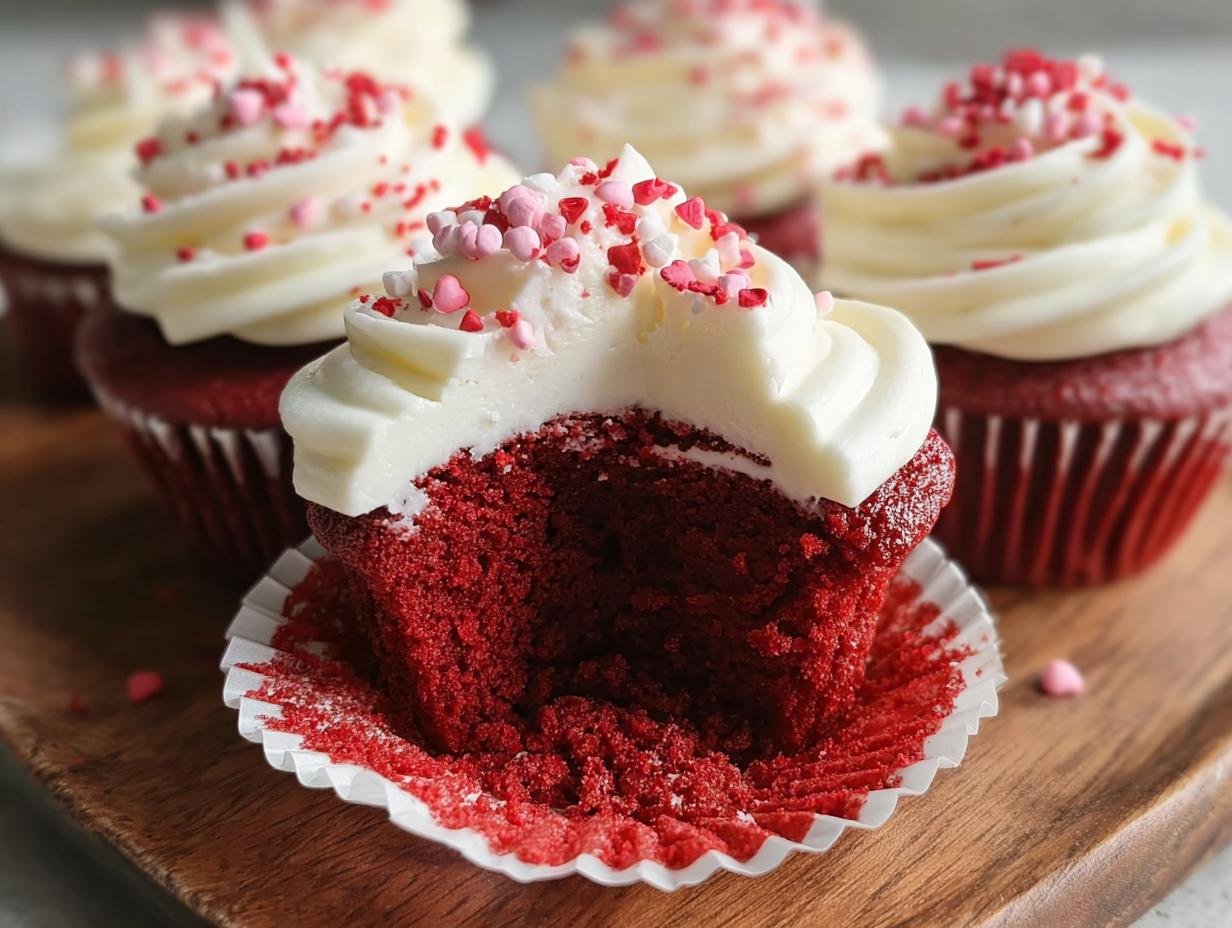
Red Velvet Cupcakes have a special place in my heart, and I’m so excited to share this recipe with you. I remember the first time I tried one – the vibrant color, the subtle chocolate notes, and that unbelievably smooth cream cheese frosting. It was pure magic! Making these homemade red velvet cupcakes is surprisingly simple, and the aroma that fills your kitchen as they bake is just divine. This easy red velvet cupcake recipe is perfect for birthdays, holidays, or just because you deserve a treat. Let’s get baking!
Why You’ll Love This Red Velvet Cupcakes Recipe
Get ready to fall in love with these delightful treats! Here’s why this recipe is a winner:
- The flavor is simply divine – a perfect balance of subtle chocolate and sweet vanilla.
- They are incredibly moist and fluffy, living up to the “moist red velvet cupcakes recipe” promise.
- You’ll be amazed at how quick they are to whip up, with a prep time of only 15 minutes!
- This is a budget-friendly dessert that uses common pantry staples, making it easy on your wallet.
- It’s a fantastic family-friendly recipe that kids and adults alike will adore.
- We’ve perfected the technique to ensure you get wonderfully moist red velvet cupcakes every single time.
- The vibrant red color is a showstopper for any celebration.
Ingredients for Homemade Red Velvet Cupcakes
Gathering your red velvet cupcake ingredients is the first step to baking these beauties. I’ve found that using room temperature butter and eggs really helps create a smooth batter. For that signature flavor, we’ll use unsweetened cocoa powder and a touch of vanilla. The buttermilk and vinegar react with the baking soda to give these cupcakes their lift and that classic tender crumb, ensuring they are truly homemade red velvet cupcakes. Don’t forget the cream cheese for that essential tangy frosting!
- 4 tablespoons unsalted butter, room temperature – for richness and structure
- 3/4 cup granulated sugar – to sweeten and tenderize
- 1 large egg – for binding and richness
- 2½ tablespoons unsweetened cocoa powder – for that subtle chocolate hint
- 2 tablespoons red food coloring – for vibrant color
- ½ teaspoon vanilla extract – to enhance flavor
- ½ cup buttermilk – for moisture and tenderness
- 1 cup + 2 tablespoons all-purpose flour – the base of our cupcakes
- ½ teaspoon salt – to balance sweetness
- ½ teaspoon baking soda – for leavening
- 1½ teaspoons white vinegar – to activate baking soda
- For the Frosting:
- ½ cup unsalted butter, room temperature – the base for our creamy frosting
- 2 cups powdered sugar – for sweetness and smooth texture
- 1 teaspoon vanilla extract – to flavor the frosting
- ¼ teaspoon salt – to cut the sweetness
- 8 ounces cream cheese, cold and cut into pieces – for that classic tangy cream cheese frosting
How to Make Red Velvet Cupcakes
Ready to dive into the magic? Making these red velvet cupcakes is a journey of delicious transformation. It all starts with a few simple steps that build flavor and texture. We’ll preheat the oven, mix our wet and dry ingredients, and then bring it all together for that signature red velvet charm. Don’t worry if you’re new to baking; this guide will walk you through exactly how to make red velvet cupcakes so they turn out perfectly every time.
Step-by-Step Baking Guide
- Step 1: Let’s get started! Preheat your oven to 350°F (175°C) and line a standard muffin tin with 12 paper cupcake liners. This ensures easy removal and a beautiful presentation for your simple red velvet cupcake recipe.
- Step 2: In a large bowl, cream together the 4 tablespoons unsalted butter, room temperature and 3/4 cup granulated sugar until the mixture is light, fluffy, and pale. This aerates the batter, giving your cupcakes a tender crumb.
- Step 3: Beat in the 1 large egg until it’s fully incorporated. Then, in a separate small bowl, whisk together the 2½ tablespoons unsweetened cocoa powder, 2 tablespoons red food coloring, and ½ teaspoon vanilla extract to create a smooth paste. Add this vibrant paste to the butter mixture and mix until everything is beautifully combined.
- Step 4: Now, it’s time to add the liquids and dry ingredients. Add half of the ½ cup buttermilk to the batter, followed by half of the 1 cup + 2 tablespoons all-purpose flour. Mix on low speed until just combined. Repeat this process with the remaining buttermilk and flour.
- Step 5: For that classic red velvet lift, add the ½ teaspoon salt, ½ teaspoon baking soda, and 1½ teaspoons white vinegar. Beat the batter on high speed for a full 2 minutes. You’ll notice it becoming incredibly smooth and airy – that’s a good sign your red velvet cupcakes are on their way to perfection.
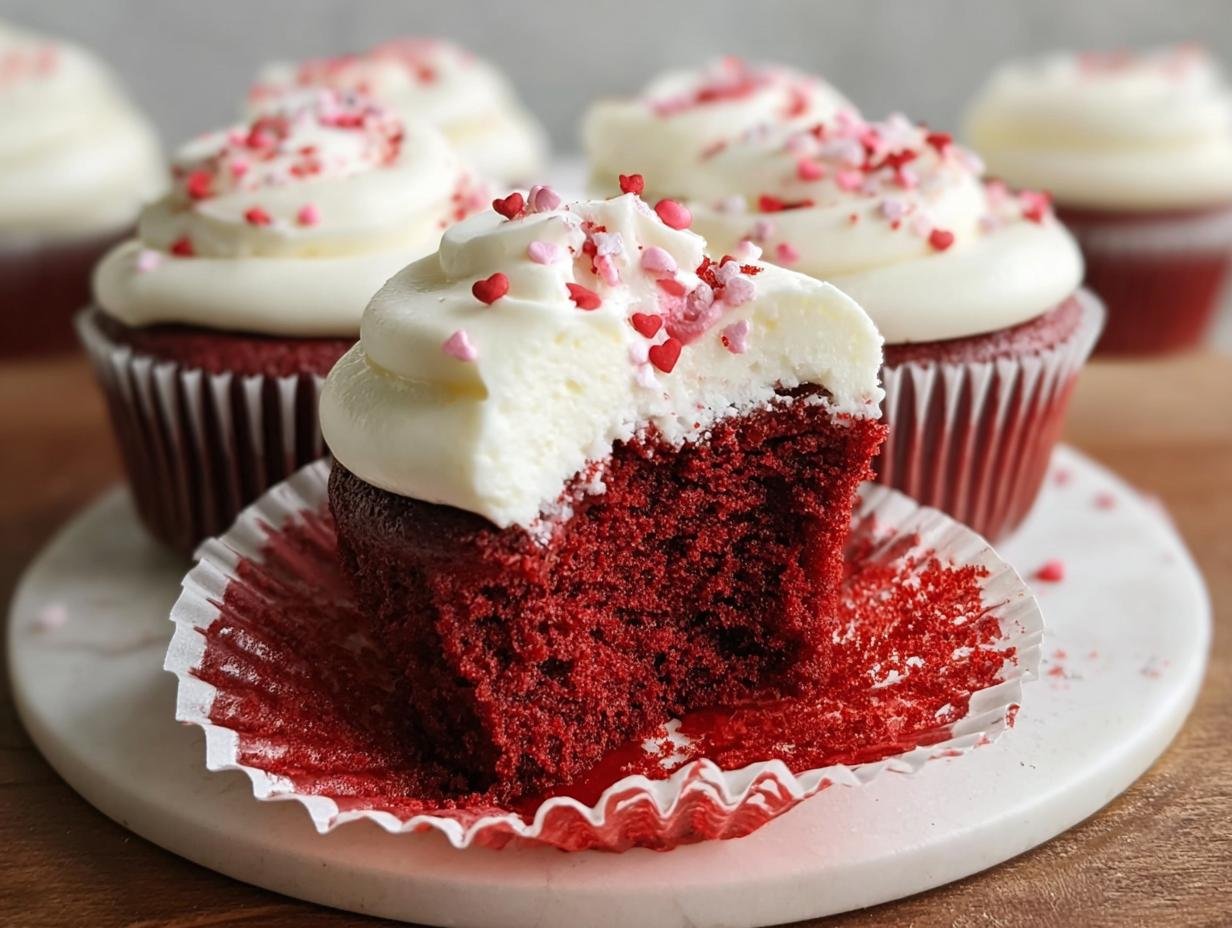
- Step 6: Divide the batter evenly among the prepared cupcake liners, filling each about two-thirds full. This allows them room to rise.
- Step 7: Bake for 18-20 minutes. You’ll know they’re done when a toothpick inserted into the center comes out clean. The aroma filling your kitchen will be absolutely heavenly!
- Step 8: Let the cupcakes cool in the tin for about 10 minutes before carefully transferring them to a wire rack to cool completely. Patience here is key for successful frosting!
Preparing the Cream Cheese Frosting
While your cupcakes cool, let’s whip up the essential creamy topping. This is where the classic tang comes in! In a clean bowl, beat the ½ cup unsalted butter, room temperature with the 2 cups powdered sugar, 1 teaspoon vanilla extract, and ¼ teaspoon salt until the mixture is smooth and fluffy. Gradually add the 8 ounces cream cheese, cold and cut into pieces, one piece at a time, beating until the frosting is luxuriously creamy and well combined. This is the heart of a great red velvet cupcake frosting recipe.
Decorating Your Red Velvet Cupcakes
Now for the fun part – making them look as good as they taste! Once your cupcakes are completely cool, generously frost them with the prepared cream cheese frosting. You can use a piping bag with a decorative tip for a professional look, or simply a spatula for a rustic charm. For an extra touch when decorating red velvet cupcakes, sprinkle with red sprinkles, add cute heart decorations, or even crumble some reserved cupcake bits on top for a unique garnish. A light dusting of powdered sugar also adds a lovely finish.
Pro Tips for the Best Red Velvet Cupcakes
Want to ensure your red velvet cupcakes are absolutely perfect every time? I’ve picked up a few tricks that make all the difference. These tips are about enhancing that signature flavor and creating that irresistible texture that makes these cupcakes so special. Follow these, and you’ll be baking like a pro!
- For the ultimate moist texture, don’t overmix the batter after adding the flour. Mix just until combined.
- Ensure your oven temperature is accurate. An oven thermometer is a great investment for consistent baking.
- Letting the cupcakes cool completely before frosting is crucial; warm cupcakes will melt the cream cheese frosting.
What’s the secret to perfect moist red velvet cupcakes?
The secret to truly moist red velvet cupcakes lies in the combination of buttermilk, vinegar, and baking soda, which creates a tender crumb. Using the right amount of fat and not overmixing are also key to achieving the best red velvet cupcake recipe results. For more baking tips, check out this guide on the beauty of food.
Can I make red velvet cupcakes ahead of time?
Yes, you absolutely can! You can bake the cupcakes and store them in an airtight container at room temperature for up to two days. For the frosting, it’s best to make it the day you plan to assemble them. Just ensure the unfrosted cupcakes are completely cool before storing.
How do I avoid common mistakes with red velvet cupcakes?
A common pitfall is using too much red food coloring, which can sometimes lead to a metallic taste. Also, avoid overbaking, as this will dry out your cupcakes. Finally, ensure your cream cheese is cold when making the frosting to prevent it from becoming too runny. Learning about the many benefits of onions might inspire you to explore other ingredients in your baking.
Best Ways to Serve Red Velvet Cupcakes
These beautiful treats are perfect for so many occasions! For a classic presentation, serve them simply frosted with a sprinkle of red or white decorations. They pair wonderfully with a cup of coffee or a glass of cold milk, enhancing the subtle chocolate and vanilla notes of the red velvet cupcake taste. Imagine serving these at a birthday party alongside a scoop of vanilla ice cream – pure bliss! For a more festive touch, present them on a tiered stand at a holiday gathering or as a sweet ending to a cozy dinner. They truly shine on their own, but a side of fresh berries can add a lovely bright contrast. Consider pairing them with a refreshing mint raspberry julep for a delightful combination.
Nutrition Facts for Red Velvet Cupcakes
Let’s talk about what goes into these delicious treats! Understanding the nutritional profile helps you enjoy them mindfully. Here’s a breakdown per cupcake, based on our recipe:
- Calories: 285 kcal
- Fat: 15g
- Saturated Fat: 9g
- Protein: 3g
- Carbohydrates: 35g
- Fiber: 1g
- Sugar: 25g
- Sodium: 200mg
Nutritional values are estimates and may vary based on specific ingredients used and portion sizes.
How to Store and Reheat Red Velvet Cupcakes
Proper storage is key to keeping your delicious red velvet cupcakes fresh and flavorful. Make sure your cupcakes are completely cool before you even think about storing them – this is crucial to prevent condensation and sogginess. For short-term storage, place them in an airtight container. They’ll stay wonderfully moist and delicious at room temperature for about 2-3 days. If you need them to last longer, the refrigerator is your friend; they can be stored in an airtight container in the fridge for up to 4 days. For long-term storage, consider freezing them! Wrap each cooled cupcake tightly in plastic wrap, then in foil, and freeze for up to 3 months. This is a great way to ensure you always have homemade red velvet cupcakes ready to go. When you’re ready to enjoy them, simply thaw them overnight in the refrigerator. If you prefer them at room temperature, let them sit out for about 30 minutes after thawing. For a quick refresh, you can gently warm them in a low oven (around 300°F or 150°C) for just a few minutes. If you’re interested in other baking techniques, you might find our article on easy cinnamon rolls helpful.
Frequently Asked Questions About Red Velvet Cupcakes
Why are red velvet cupcakes red?
The iconic color of red velvet cupcakes comes from a chemical reaction between acidic ingredients like buttermilk and vinegar, and alkaline baking soda, which traditionally brought out a reddish hue. In modern recipes, red food coloring is almost always added to ensure that vibrant, characteristic color. It’s this visual appeal that makes them so striking and popular for celebrations!
What is red velvet cupcake flavor?
The unique red velvet cupcake taste is a delicate balance. It’s not overwhelmingly chocolatey, but rather has a subtle cocoa flavor that pairs beautifully with the sweetness. The tang from the buttermilk and cream cheese frosting cuts through the richness, creating a complex yet mild profile that’s subtly sweet with a hint of warmth. It’s a flavor that’s both comforting and intriguing.
Can I use regular milk instead of buttermilk for red velvet cupcakes?
Yes, you can! If you don’t have buttermilk on hand, a fantastic substitute for this easy red velvet cupcake recipe is to mix 1 tablespoon of lemon juice or white vinegar with ½ cup of regular milk. Let it sit for about 5 minutes until it curdles slightly. This homemade buttermilk substitute will provide the necessary acidity to react with the baking soda and ensure your cupcakes have that tender crumb. For more baking tips, you might find our guide on buttermilk pancakes useful.
How do I get the brightest red color in my red velvet cupcakes?
To achieve the most vibrant color in your homemade red velvet cupcakes, use a good quality gel or liquid red food coloring. Start with the amount specified in the recipe, but don’t be afraid to add a little more if you want an even deeper hue. Remember, the color will intensify slightly as the cupcakes bake. Just be mindful not to add too much, as it can sometimes affect the flavor.
Variations of Red Velvet Cupcakes You Can Try
While the classic red velvet cupcake is a winner, there are so many fun ways to put your own spin on this beloved dessert! Exploring these variations lets you cater to different tastes and dietary needs, while still honoring the classic red velvet cupcake history. You could try a vegan version by substituting plant-based milk and butter, or even a gluten-free recipe using your favorite flour blend. For a different cooking method, consider mini red velvet cupcakes, which bake faster and are perfect for parties. Another exciting idea is to infuse them with a hint of raspberry or cherry for a fruitier twist on the traditional flavor. Each variation offers a unique experience while staying true to that iconic red velvet charm! For a different dessert experience, try our pistachio pavlova meringue cakes.
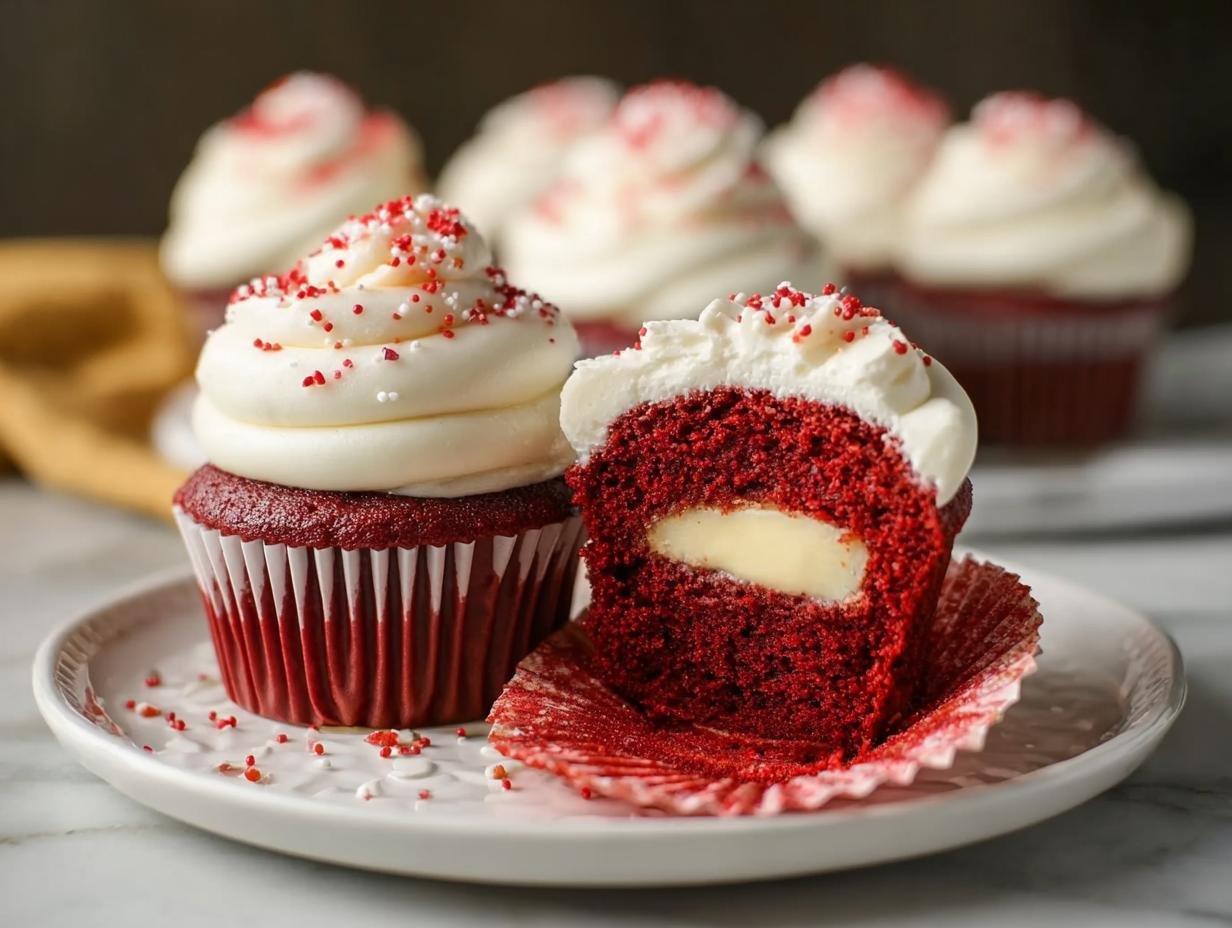

Red Velvet Cupcakes: 15 Minute Magic
- Total Time: 35 minutes
- Yield: 12 cupcakes 1x
- Diet: Vegetarian
Description
Moist, fluffy red velvet cupcakes with a hint of chocolate, topped with creamy cream cheese frosting. These easy-to-make cupcakes are a crowd-pleaser and perfect for any occasion.
Ingredients
- 4 tablespoons unsalted butter, room temperature
- 3/4 cup granulated sugar
- 1 large egg
- 2½ tablespoons unsweetened cocoa powder
- 2 tablespoons red food coloring
- ½ teaspoon vanilla extract
- ½ cup buttermilk
- 1 cup + 2 tablespoons all-purpose flour
- ½ teaspoon salt
- ½ teaspoon baking soda
- 1½ teaspoons white vinegar
- For the Frosting:
- ½ cup unsalted butter, room temperature
- 2 cups powdered sugar
- 1 teaspoon vanilla extract
- ¼ teaspoon salt
- 8 ounces cream cheese, cold and cut into pieces
- Additional Decorations:
- Red sprinkles or heart decorations
- Cupcake crumbs for garnish
- Extra powdered sugar for dusting
Instructions
- Preheat your oven to 350°F and line a standard muffin tin with paper cupcake liners.
- In a large bowl, cream together the butter and sugar until light and fluffy.
- Add the egg and beat until well combined.
- In a small bowl, whisk together the cocoa powder, red food coloring, and vanilla extract to create a paste. Add this paste to the butter mixture and mix until incorporated.
- Add half of the buttermilk to the batter, followed by half of the flour. Mix on low speed until just combined.
- Repeat with the remaining buttermilk and flour.
- Add the salt, baking soda, and vinegar. Beat on high speed for 2 minutes until the batter is smooth.
- Divide the batter evenly among the cupcake liners, filling each about two-thirds full.
- Bake for 18-20 minutes, or until a toothpick inserted into the center comes out clean.
- Let the cupcakes cool in the tin for 10 minutes before transferring them to a wire rack to cool completely.
- While the cupcakes are cooling, prepare the frosting. Beat the butter, powdered sugar, vanilla extract, and salt until smooth.
- Add the cream cheese pieces one at a time, beating until the frosting is creamy and well combined.
- Once the cupcakes are completely cool, frost them generously with the cream cheese frosting.
- Decorate with red sprinkles, heart decorations, or cupcake crumbs if desired.
Notes
- Use natural unsweetened cocoa powder for the best color and rise.
- Ensure your cream cheese is cold for the frosting to achieve the correct consistency.
- If you don’t have buttermilk, you can make a substitute by mixing 1 tablespoon of lemon juice with ½ cup of milk and letting it sit for 5 minutes.
- Store frosted cupcakes in an airtight container in the refrigerator for up to a week.
- Prep Time: 15 minutes
- Cook Time: 20 minutes
- Category: Dessert
- Method: Baking
- Cuisine: American
Nutrition
- Serving Size: 1 cupcake
- Calories: 285 kcal
- Sugar: N/A
- Sodium: N/A
- Fat: N/A
- Saturated Fat: N/A
- Unsaturated Fat: N/A
- Trans Fat: N/A
- Carbohydrates: N/A
- Fiber: N/A
- Protein: N/A
- Cholesterol: N/A



Leave a Reply